Well, just when you think you are making progress...
So I thought that the first bathroom tile project went exceptionally well. Well, I would learn that I was duped. But more on that later.
I went ahead and started on prepping the Main Bathroom for its tile project. I am going to use the same tiles, and I had hoped to start on it today, but I would quickly learn that the prep project was going to be a little bit more lengthy than anticipated.
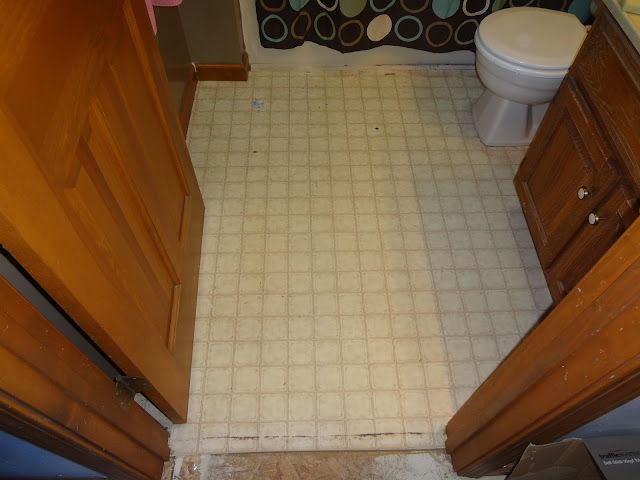 |
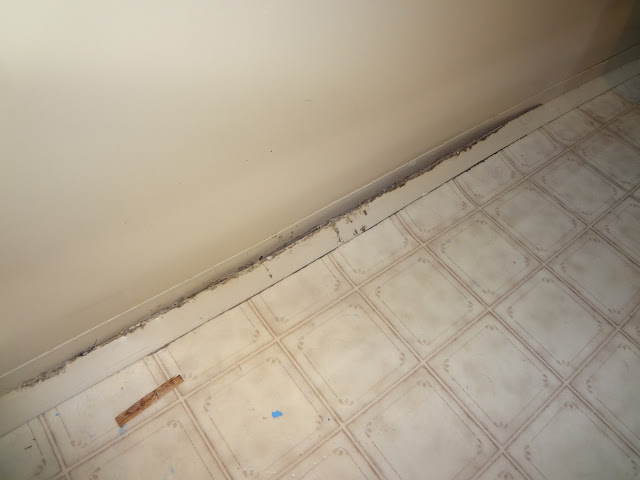
| The original 1991 linoleum about ready to get a facelift. |
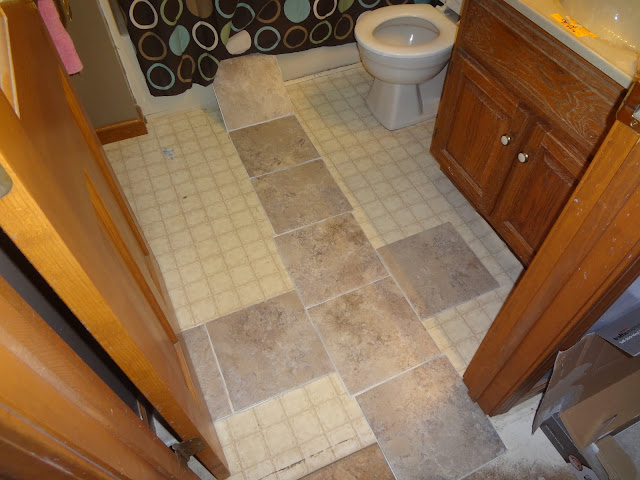 |
| Trying to figure out the best way to lay the tiles so I don't have any small pieces at the ends. |
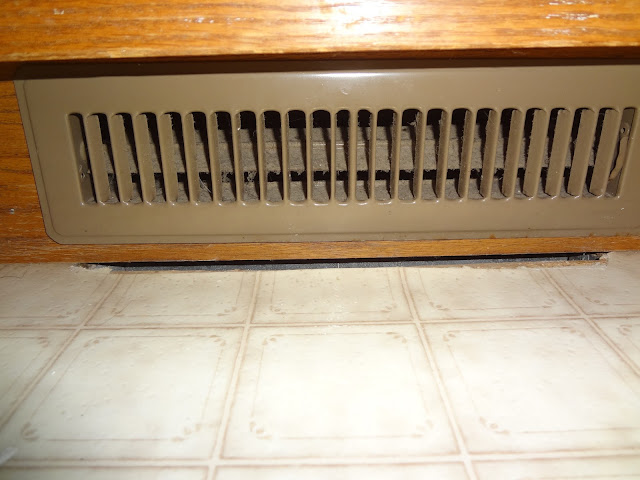
The plan is to leave the vanity in place. It is currently installed on top of original linoleum, and linoleum is an excellent base for the new sticky tiles. So I wanted to keep it that way. But the linoleum is peeling up significantly in two areas: where it meets the bathtub and underneath the vanity where I would learn the contractor mis-located his air vent hole. This house was slapped together!
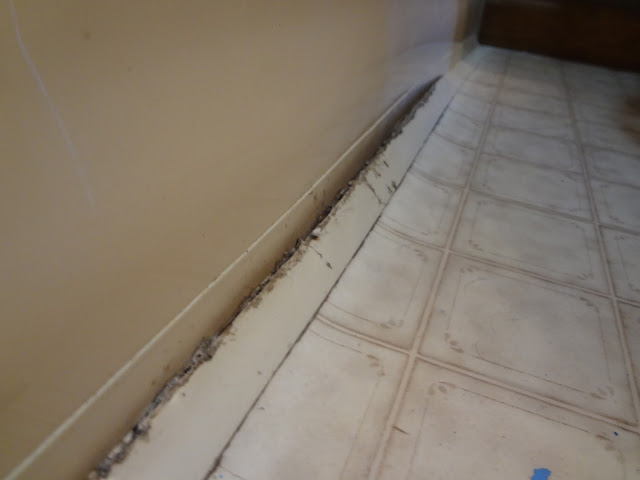 |
| The tub had a (broken) 90-degree seal. With that broke, water had an easy entrance, and the linoleum started to curl up. |
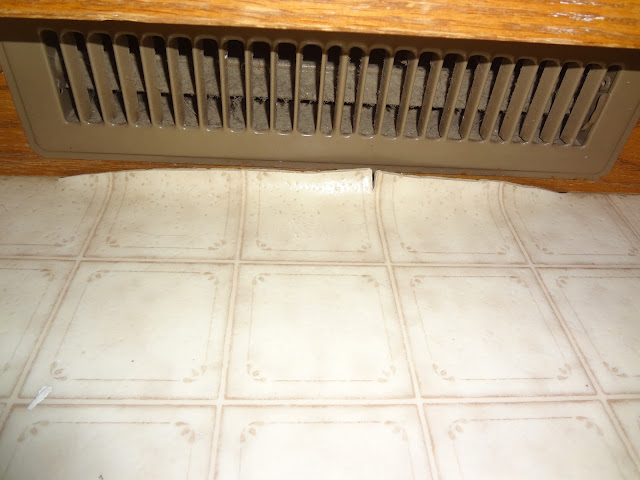 |
| The linoleum curling at a hole in the subfloor. Yes, it comes out beyond the vanity. Oh, this contractor. |
 |
| Notice the length of the broken seal! |
 |
| It created quite a curl to the floor! Not a good base for a new floor. |
 |
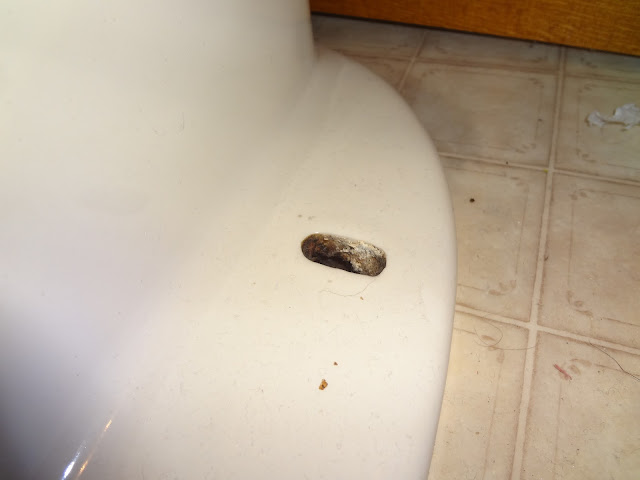
| Yes, that is the hole in the floor outside the vanity after cutting away the linoleum. Sigh. At least a tile will cover it up? |
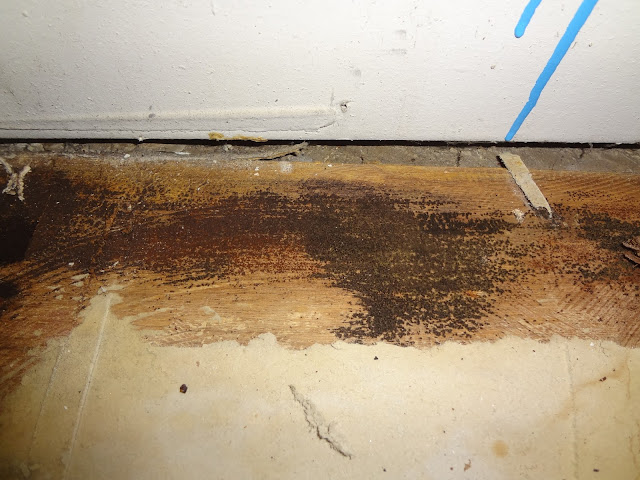
Because linoleum is VERY strong where it has peeled up, I decided to just cut out those parts altogether. And the second sign of a water leak was apparent: black mold.
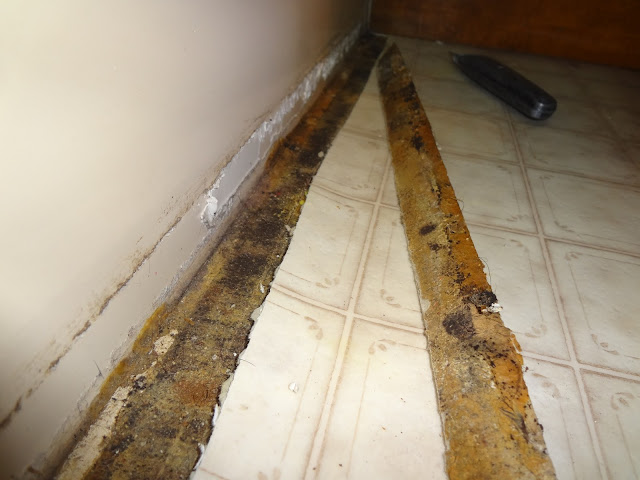 |
| Black mold after cutting out a strip of the linoleum along the tub. |
I then removed the toilet. And, of course, it put up a battle. One nut was so rusted, but thankfully, the other was completely gone! I had to saw the remaining one to get it off. The previous bathroom went so well because the toilet was so dry! Well, from the moment I removed the toilet, I could tell that water had been leaking. Actually, even before removing it, I noticed some discoloration on the linoleum, a tell-tale sign. But even after removal, it wasn't overly obvious how bad it was.
 |
| Needless to say, I had to cut this one off. |
 |
| But this one lifted up easily as it didn't even exist! |
 |
| From the moment I lifted the toilet, though, it was apparent that water had been getting outside the seal. |
 |
| That right side showed plenty of signs of water leak. |
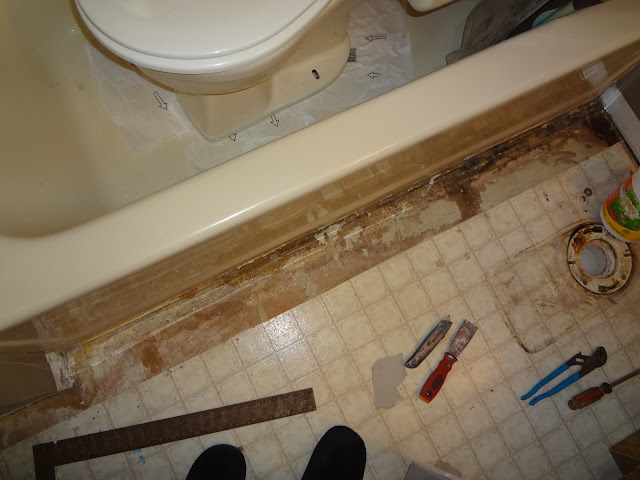 |
| I decided to bring out the linoleum strip even further away from the tub to assure complete smoothness. No curls! |
So as I worked on the linoleum along the tub, I kept asking myself, "Should I remove the linoleum around the flange and see how bad it is? Or just leave it? I know it's durable enough..." The struggle was real! But wanting to do the project right, I decided to remove the linoleum. And that would give me an insight into the condition of the luan below.
Well, the results were obvious. Water had been leaking for a very long time. And now, all of a sudden, it made complete sense. For in the downstairs bathroom directly below this toilet, I noticed that the popcorn ceiling has a different texture...from a water leak. I never knew what it was from, but now I know. It looked like it was probably a previous fix years ago, but it had definitely been wet. And the toilet was the culprit!
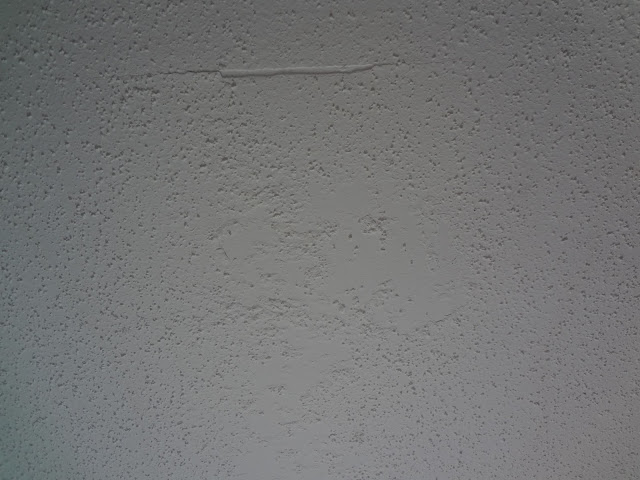 |
| Some funky spots on my ceiling downstairs now made sense. This sits right below the toilet. A previous patch job. |
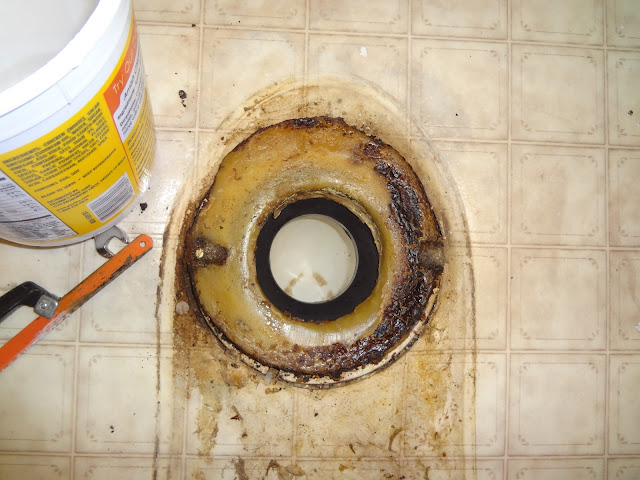
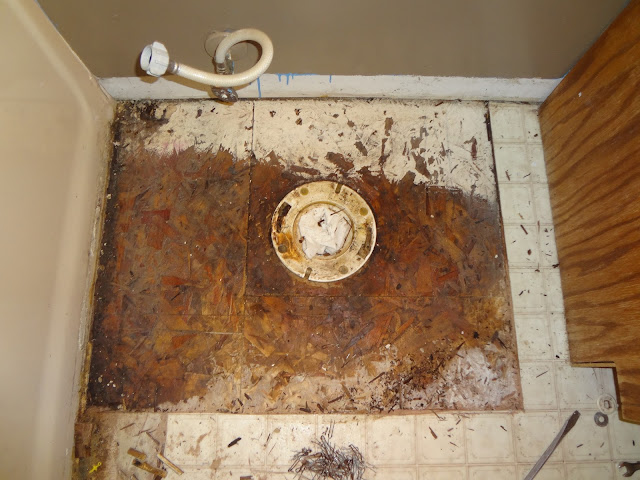
What happened was the flange was level with the floor, and the wax ring wasn't big enough. So water leaked over the top of the wax and off to the left side and then around the toilet. So I cut out the luan with my oscillating tool, and, boy, did I have an unwelcome surprise underneath the luan: BLACK MOLD!!!
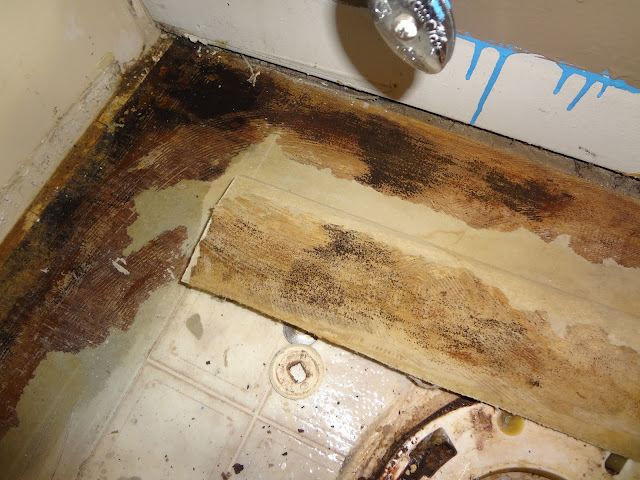 |
| As soon as I removed a piece of linoleum, I saw the signs of water leak: black mold! |
 |
| And I mean lots of mold. |
 |
| LOTS of mold! |
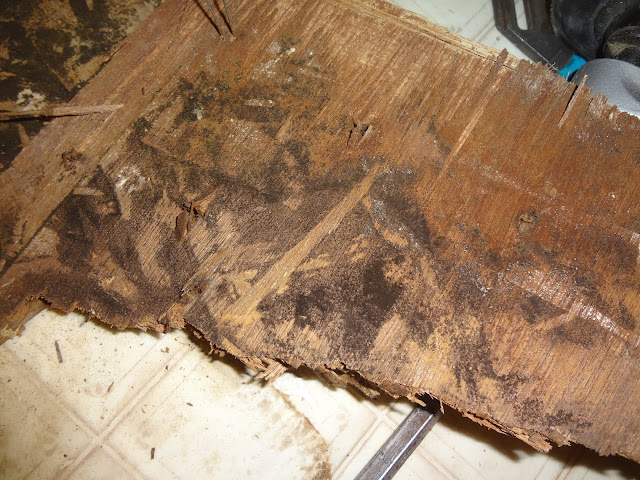 |
| It was everywhere! |
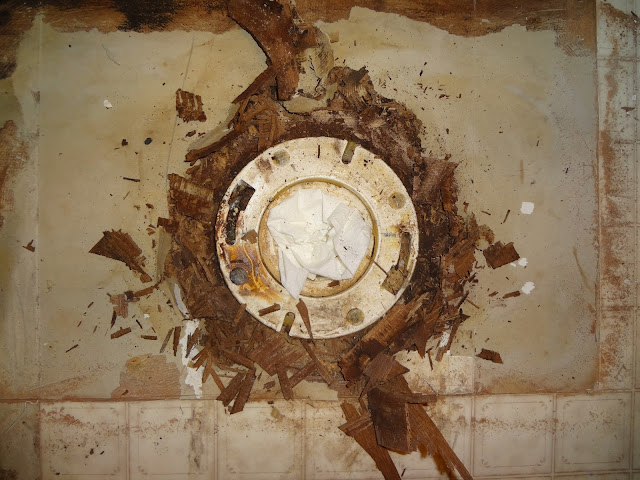 |
| The wood just crumbled around the toilet flange. Wet, wet, wet. |
This house was literally covered in so much mold! And here's yet another water leak with yet another dose of black mold! It's everywhere!!! Thankfully, even though it was covered with mold, most of the water damage and destruction was limited to the top luan layer. So the bottom floorboard was still structurally sound. Phew! That takes a LOT of work out of the project.
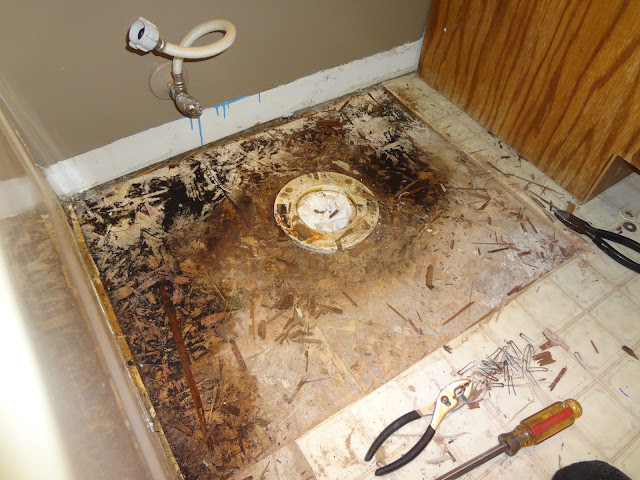 |
| The water leak area was obvious. The linoleum and luan underlayment are all pulled up here. |
 |
| I bleached and scrubbed and scrubbed and scrubbed to kill and remove the mold. |
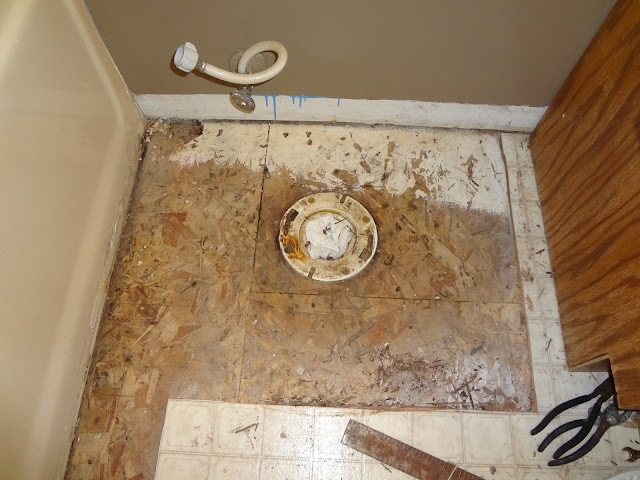 |
| All dry! Thankfully, the subfloor is still good. |
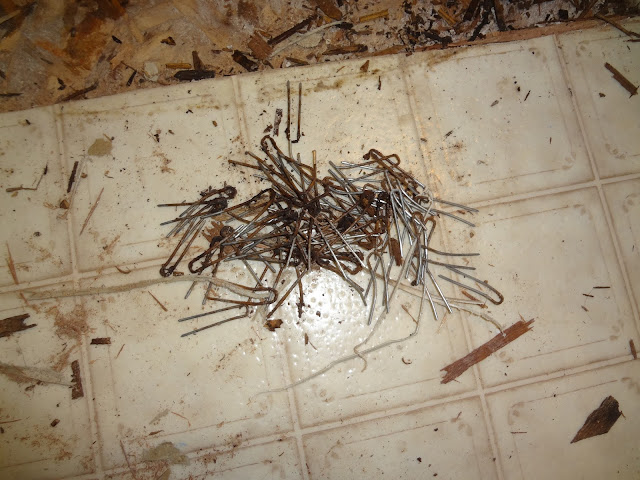 |
| More staples had to be removed! Agh! |
But I will still have to lay another layer of luan down and a piece of linoleum on top to bring it back up to the proper height with the rest of the linoleum floor before I can lay my tiles. What a project!
This evening, I asked if Dad would be willing to come over and help me re-install the toilet in the Main Bathroom. Those boogers are heavy! So he and Mom came by tonight (with supper...thanks!) to do just that. I had run out to Lowe's to buy myself a new wax ring.
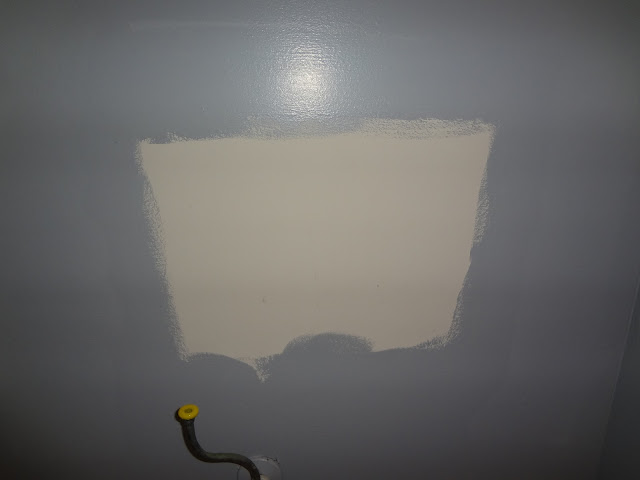 |
| I painted this spot behind the toilet before reinstalling the toilet tonight. |
 |
| The new floor looks great! But looks can be so deceiving... |
Well, what was supposed to be really simple ended up being anything but.
We installed the new wax ring, then elevated the toilet over the flange, and BAM. Uh oh. The toilet fell. I wasn't ready for the toilet to drop yet! And just like that, we had a ruined wax ring not directly over the flange bolts. Sigh. I needed to make a run out to Lowe's again for a new one! (I went ahead and grabbed two!).
I came back and we did it again, this time successfully. Well, almost. I elected to re-use the brass bolts that were still on the flange. I was literally trying to save two bucks. Seriously. But as I went to turn the second one, it spun freely. Sigh. It appears that the previous owner just used a normal bolt rather than a flange bolt and literally had it secured (not tightly obviously) to the flange by a nut. Regardless, it now has to come back up. Another wax ring wasted!
But that's not even the biggest issue. As I was in that bathroom, I noticed something I didn't like...at all. I noticed a crack in the grout. But it was really more than a crack. It looked like the grout was coming undone. And sure enough, when I ran my finger over the grout line, the grout literally turned to powder. Just like it was before I added water to it!
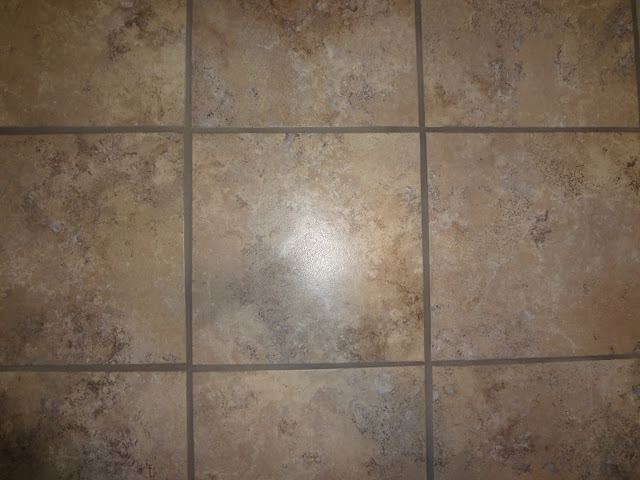 |
| The new floor! But... |
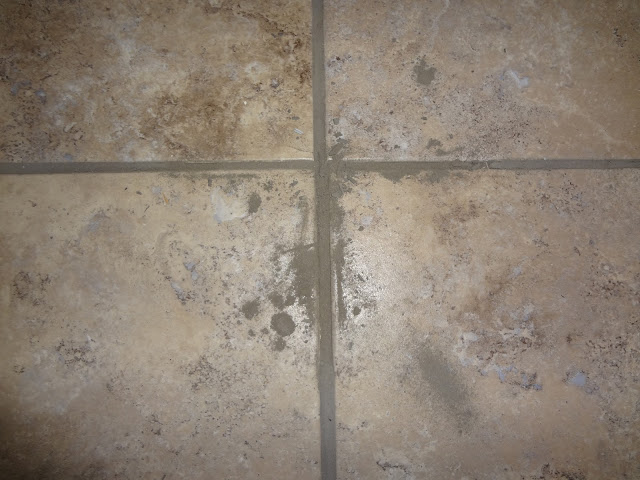 |
| The grout turns to powder when touched. |
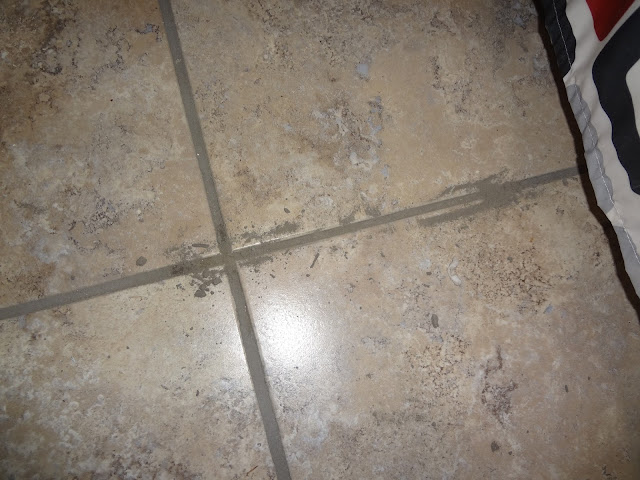 |
| The grout never cured. It's literally powder when touched. |
Does grout go bad?
Well, after some research tonight, I am here to tell you that grout does very much go bad! So I need to re-grout the entire bathroom. Agh, so frustrating! It turns out that this grout that I originally used five years ago has a shelf life of about one year. News to me. And I learned the hard way tonight!
So I wasted $4.99 on my first wax ring (a thicker one) and now I wasted another $1.99 on this latest wax ring! I told Dad to pull out seven bucks and set them on fire because that's what I just did. So aggravating! (Of course, he said I would have spent that on dinner, and Mom unexpectedly brought me some, so...)
But another setback. And a lesson. Grout goes bad!
So my "completed bathroom" is very much not complete! And that's too bad because it really did look great! And my second bathroom is going to take me a day or two longer than expected!
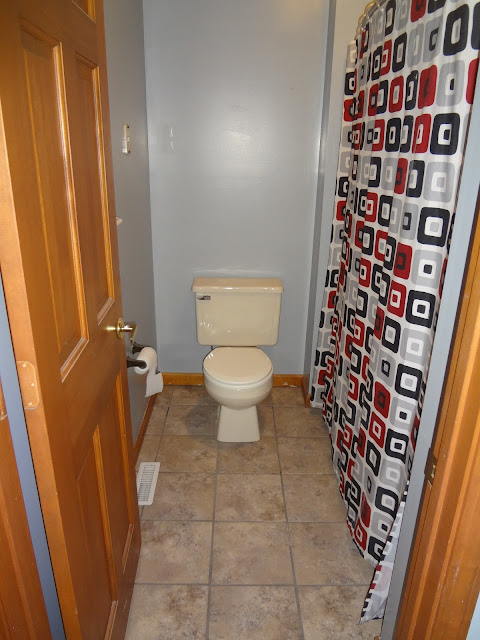 |
| A bittersweet picture. For while the bathroom appears finished, I have to take out the toilet again, remove the grout, install new grout, and re-install the toilet again! This bathroom is far from finished! |
But they will get done. Just some minor setbacks today.


