Wednesday, January 4, 2017

The Cabinets Are In!

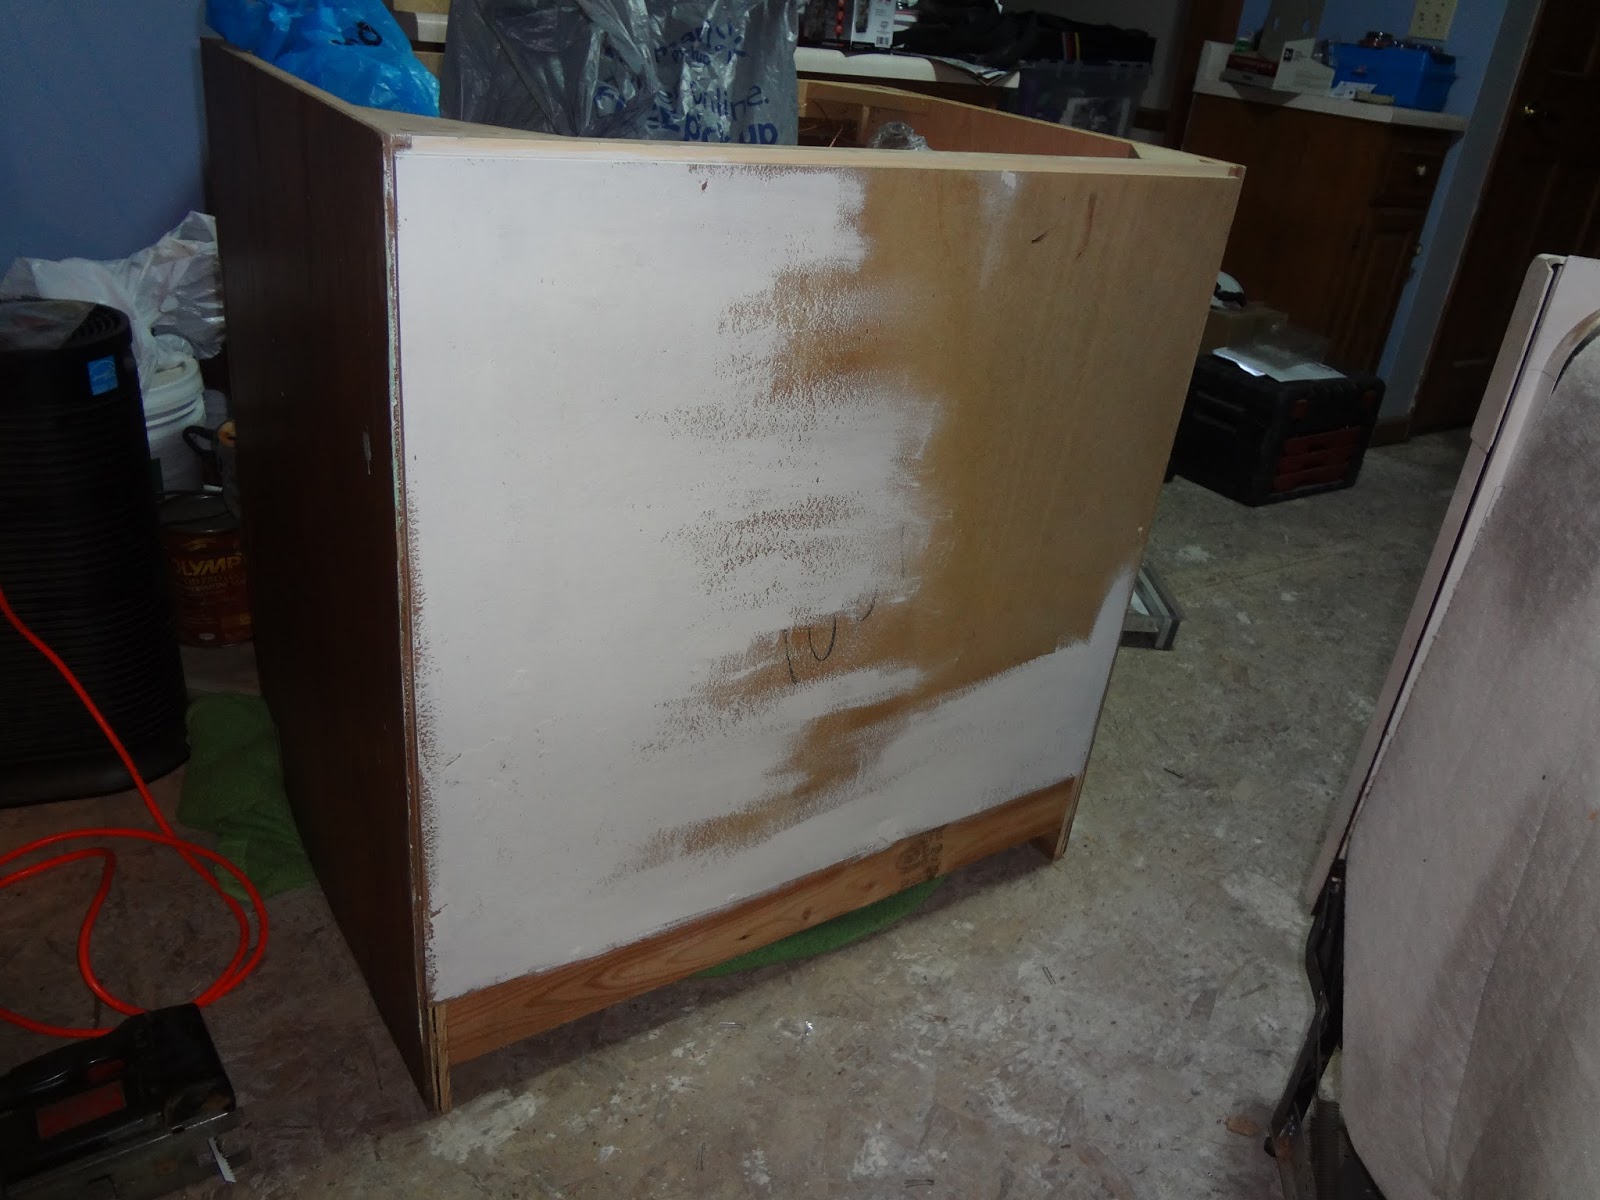
I woke up and immediately sanded the patched drywall and then gave it a coat of paint.  I REALLY wanted to get these cabinets back in today!  It's not as smooth as I would like for it to be, but again, it's behind a cabinet.  And it's so much better.  By the time it dries, it should be cabinet time!

A fresh new coat!
Thankfully, my brother volunteered to come by again and help!  So he and I headed to the crawlspace to "shore up" the floorboards that Dad and I had installed yesterday.  He measured the pieces while I ran back and forth upstairs to cut.  It was pretty simple but necessary work.  And I was able to test out my "new" chop-saw that I had purchased a few weeks ago!  I paid $40 for this saw, and I am in love with it!  I mean, this takes all the guesswork out of cuts!  Your cut is straight every time!  As I told Dad, "I don't know how I lived this long without having one!"  Seriously, what a great tool.

So the cuts went quick, and if a piece was too long by just a bit (it happened), I just zipped a blade-length off.  Easy!  Little by little, the support structure was coming together.  Of course, a cabinet and dishwasher are going to be on top of this area of the floor, so it's not much weight.  But a job worth doing is worth doing right.

Securing the new floorboards.
Dad pulled up more staples while we worked in the crawlspace.  (I don't think he was complaining one bit about having my brother help me down there!).

Well, the support boards were installed, and I then secured the floorboards to them.  We have an official subfloor ready for cabinets!!!

The new floor is officially ready!

Ready for a dishwasher and cabinet!
I filled in the gaps in the floorboards (and the rest of the house!).  I had purchased some gap filler sealant, and so I started closing off the numerous air gaps in the house!  And I have many!  If you put up your hand to the recently-installed doors, you could feel quite a bit of air coming through.  It's pretty frustrating knowing they were just installed, but what are you going to do.  So I sealed them off!  I sealed off the gaps in the floors where you could see into the crawlspace!  I sealed off any and all holes and cracks that I could see!  I'm sick and tired of this house being so cold!!!

No more drafts, please!

Stop those leaks!

I just kept on going until my bottle ran out!
Of course, we still had a quite a bit of work to do before installing the cabinets back in.  As you may recall, the cabinets were installed after the original floors were installed.  So the rest of the cabinets in this row sit on top of linoleum which sits on top of 1/4"-inch luan.  So Dad and I had to then install both of those pieces in order to make sure the countertop rested evenly on top!

So we cut out a piece of luan and debated as to whether to put in the obscene amount of staples required.  The luan board itself shows you where to mount the staples, and I counted 70 X's...and that didn't even include the recommended staples along the edge!  Absolutely absurd.  We went a different route and just mounted the piece down with nails.  Lots and lots of nails.

The new luan ready for linoleum.
I cut out a piece of scrap linoleum I had been saving (for such a time as this!), and we had a new floor ready for a dishwasher and cabinet!

We pushed the dishwasher back in, and it fit perfectly onto the new floor.  I put it all back together, and I was nervous about leaks, but we ran a cycle, and the floor was dry!  Woo hoo!  What a relief!  I noticed that my soap dispenser lid is broken, but the unit runs and cleans.  We then installed our renovated cabinet back into place, and it also fit perfectly!  I was even able to line up the long mounting screws back into their original holes!  We done good, Pa!

The cabinets are officially in!

Look at that kitchen!

Our fixed cabinet went right back in!
The dishwasher works great!  The bottom is still off to check for leaks.
Wow, what a relief!!!  Today marks the official turning point.  The house is going back together.  I feel like I have been taking apart for so long.  But with the cabinets back in place, I can move forward with getting this kitchen back in order!  If I still had my job, I would say let's get floors installed!  But that is going to have to wait for now.

But what an exciting day!  This has been a rough week of hard work!  I mean, we literally had to jack up the walls of my house to install new floors!  Oh!  Speaking of which, my brother and I thoroughly inspected the work of my contractor from down below in the crawlspace, and I've never been more excited to report that he did good work!  He didn't take a shortcut like I had thought!  He replaced the floorboards that needed to be replaced, and unlike the area where I was working, he didn't have the extensive water damage extend to below the walls.  Actually, in one small corner area, he did, but he built that area back up from below, and it's not a big deal.  But where he didn't go underneath the walls like I mentioned yesterday, it's because he didn't have to!  The walls are standing on six inches of solid wood!

Oh, what a huge relief that was!  As I told my brother, "I no longer hate him."  ha!  Seriously, though, even this morning my brother was stating that we needed to do in the other areas what we did yesterday...raise the walls and insert good wood under.  And knowing what we went through yesterday, that sounded absolutely awful.  So I am happy we don't have to do that!  And happy that the house is standing on solid wood everywhere now!

With the cabinets back in place, I asked Dad to help me move the dining room table back to the center of the dining room area.  Hey, this is a kitchen!  Let's make it look like one!  It's a small step, but it's time to get it organized!

The dining room table back in place.

The kitchen is coming back together!
Seriously, what a great day.  I'm so happy I get to keep the cabinets.  I'm happy the dishwasher works.  I'm happy that the floor is fixed properly...both by us and by my contractor.  I'm happy the house is finally going back together!  It's been a long time coming.


I even cleaned a bit to make it look kitchen-y!
After Dad left, Mom came over after work to check on the progress.  She could only stay for a short time, but she ended up polishing up the sink in that time!  I was disappointed I didn't get a "Before" picture as the sink was nothing but paint!  But it looks great!

Oh, so fresh and clean!  This was blue 20 minutes ago!!!
After she left, I decided I needed to start making this kitchen pop even more!  So I pulled out the cabinet knobs I had purchased over a month ago and started updating the cabinets!  It's such a small change, but it shows me that this kitchen is ready to move forward!  Out with the old, in with the new!

The old knobs.

The old and new.

All new!

Gorgeous oak cabinets with new, shiny knobs!
Of course, always lingering over my head (quite literally) is the water leak in the ceiling.  I'm still very eager and anxious about that, but I'm pretty sure it's from the roof...a whole other project.  But that will be down the road.

Please tell me, Mr. Ceiling Leak...where do you come from?
It's coming together!  I have a kitchen again!!!  It's so good.  I seriously feel a turning point here.  The house IS going back together.  I know I still have no floors...and a patio door that is going to be an expensive project...but the house is finally being CON-structed instead of DE-structed.

Thanks for all of the help, y'all!!!  We have a kitchen again!!!

Tuesday, January 3, 2017

The Floorboards Are In!

So this morning my brother offered to help, but I had to work on another house first!  Agh!!!  Ask again, brother!!!  :)

The first stop this morning was one of the rental properties.  A tenant had called me Sunday and told me that his garage door stopped working.  He could hear it spin, but the belt kept jumping off the track.  So I went over there HOPING for a tightening up of the belt and an easy fix.  Uh, that would be too easy.

The motor still spun, but the belt wouldn't engage.  Hmm.  So I pulled off the cover on Sunday and found out exactly what was wrong.  The plastic gear had been eaten!  I've replaced one of these before, so I was happy about knowing what to do.  It's crazy I'm "happy" about knowing how to fix something, but that's part of landlordship.  Things break!  Oh, do they break.

Before I pulled off the unit, I said, "I wonder if we will have little white shavings in here."  The tell-tale sign of a stripped gear!

She was stripped!
The garage door companies were closed yesterday for New Year's Day, so I had to wait until this morning to get the part.  Around $30.  I had an old gear I could have used, but I figured it wasn't worth the risk.  I don't want called about this again!

The actual gear replacement went fairly quickly.  You just pop out a pin, slide it on, and pop the pin back in.  But, in typical fashion, we had a much bigger project ahead of us.  For whatever reason, the previous owner mounted the garage door opener at a fairly big angle.  Dad was confident that they simply placed their mounting bracket on the closest studs.  Very plausible!  Dear Previous Homeowner, Go buy a longer mounting bracket!!!

Ummmm, can anyone see a problem here?!  A short bracket led to an off-centered install!  C'mon now!
And that's exactly what we did.  Dad went out to Menard's to buy a longer bracket while I put the gear assembly and opener back together.  Once he was back, we did our typical Father-Son-Make-the-Project-As-Long-As-Possible-By-Making-The-Most-Amount-of-Mistakes-Possible memory together.  First we mounted the bracket wrong so we had to take out the lag bolts and re-install.  Then we mounted the opener a bit non-centered.  Then we mounted one of the smaller mounting brackets backwards.  I mean, it's hilarious even thinking about bad we were!  We certainly like to triple the time of our projects.

But the door worked!  It went up and down!  I had to adjust the downward length of the door quite a bit (as the door slide jarred significantly when it went down), but that was easy to do.  We were done!  Not a quick fix, but a good one.

Well, as I started to take pictures of our project after we were done, I just couldn't get the door lined up straight in my camera!  My camera has centering bars, and it was obvious that we were not centered.  Ugh.  I couldn't accept it not being right, so I called Dad back in.  We measured side-to-side from the center, and sure enough, we were off by a couple inches.

We thought we were done, but notice the bowed slider bar.  We were off-centered!
So we grabbed the ladders again and moved the opener over!  Finally!  The door opener is now centered!  A job well-done.  It took about three hours from start-to-finish.  Yikes!

Look at that straight bar directly lined up with the center of the garage!  Beautiful!
But NOW we could move on to the next project:  putting new floors in my house!  What is wrong with us?!  It's like we like to work.  We headed to Pa's house first to get a quick bite to eat, then headed for my new house to do some grudge work.

The goal was simple:  Get the new subfloor installed below the dishwasher and cabinets.

The only goal today:  Install new floor!
We measured and cut a piece of floorboard to fit.  But as mentioned yesterday, we had a significant problem with the jacking situation.  Because the bottom wallplate was not continuous along the hole we needed patched, I couldn't jack up the wall very easily.  We soon realized that although it would be nice to have one solid piece of floorboard in this section, in order to jack up the wall enough to get underneath it, I needed to leave one sill open for jacking.  So that meant cutting the board in two.

We cut the board right along the middle of the joist for easy installation.
That was easy enough.  Cut it right along the middle of the floorjoist.  But after that, it was nothing but back-breaking work.  Even with the house wall jacked up, the floorboard was still very difficult to get under the wallplate.  I was happy to see that I had 6" exterior walls, but that meant a lot of hammering!  We were coming in at an angle too as the new piece was being mounted from on top of the old floorboard, so that created some tension, too.  But we just hammered.  And hammered.  And hammered.  And little by little, the new floor wedged its way underneath the wall.  Or at least tried to.  We ran into a pretty big problem once the floorboard met the vertical rim joist.  Because we were coming in at an angle, the new board was clipping the very top of the rim joist.  So I had to pry up the new floor on top of the joist as Dad hammered.  What work!  But we got it in!

The first piece is in!  The wall is resting on solid wood once again!
It's actually pretty neat to think that the house has a solid foundation to rest on again, though.  That 1/4" compressed wet wood from yesterday is now 23/32" thick!  And dry!  And solid!  The house is sturdy again!

But unfortunately, this was the easiest of the two pieces.  Actually, in order to make the next one go in easier, we decided to cut it into a third piece!  That way we could slide the new floor into the opening in the floor but not at an angle and just hammer straight in.  In theory, it would slide ever-so-lovingly underneath the wall and sit in place.

That was not to be.

We had an even worse time on this one!  We hammered.  And hammered.  And hammered some more.  We had to literally work together, with Dad hammering one edge of the board while I did the other.  The board ever-so-slightly moved.  I mean, it was just creeeeeeeeeeeping along.  Ugh.

It was late in the afternoon already, and we were struggling from a long day.  But we just had to get this project finished!  So we motivated each other and kept hammering.  And hammering.  And hammering.  We FINALLY got the second piece in.  Wow, what a day.

The new floor is in!

That black line on the wood became our motivation.  Just two more inches.  Just one more inch.  Just 1/4-inch!
We literally jacked up the wall of the house, inserted new floors underneath, and set the wall back down!  Wow!

The third piece was simple as it just fell into place!  But what a great day!  This hopefully represents the last structural setback for this house.  It was such a feeling of relief.  I really feel like today is a turning point.  Now it's time to start putting the house back together!!!  I've been taking it apart for way too long now.

The rotten floor yesterday.

The solid floor today as viewed from the same angle!
Today was just old-fashioned hard work.  But the job was done right.  I'm so happy that we have a house resting on solid footing again.  But in doing the job right, I really started to question the work my contractor did.  I inspected his floorboard replacements, and I was so saddened and disappointed and frustrated to see that he literally just cut the floorboards along the wall and installed new.  He took the easy way out!  That means the house is still resting on rotten wood!  As Dad said, "Andy, we could have done that."  Yes, we could have.  And with a bill of $1800, I felt duped.  Basically, outside of installing the two doors, I was paying him $300 to cut wood and hammer it into place.  In each section!

I was sick.  How to find a guy to trust!  That takes pride in his work.  It's so frustrating.

Our floor goes six inches past this wallplate to the outer edge of the house!

But my contractor's stops right before the wallplate!  He took the easy way out!  Look at the massive difference!  Our work goes seven inches deeper!
Of course, Mom showed up after work, and we just HAD to keep working!  No rest for the weary!  She started working on the non-painted area behind the stove, and I took to trying to clean up all of the mold and mildew still on the walls behind the counters.  I decided to just cut out the bottom sections which were crumbled anyway.  And then I started putting new pieces back in.

Before...

And After!
I would LOVE to get these cabinets back in tomorrow, and that means I have to have this area ready to go!  So even after Mom and Dad left, I mudded...and mudded...and mudded some more.  I HATE mudding, and I quickly realized I am still terrible at it.

Patching the crumbling drywall.

The first coat of mud.

Not the prettiest!
It didn't help that I cut out small pieces with no real support behind them, so they flexed a bit too much.  But I kept mudding anyway.  It was behind a cabinet, right?!  I still hate it not being smooth.  Well, I put on a second coat that looked a bit better.

It's STARTING to get better.
And then a third.

It's not perfect, but it will do.
Wow, what a day.  I stayed up late to mud the second and third coats.  I'll sand and paint in the morning, and then the cabinets should be able to be installed!  What a step FORWARD in the right direction!  I needed this!

The house is finally being put back together!!!

Monday, January 2, 2017

More Destruction...

I started out the day with the goal of getting the end cabinet back in place.  The kitchen cabinets sit on top of the original kitchen floor of linoleum and luan, and when I had my contractor replace part of the floor underneath the cabinets from the water damage, he was working with the original floorboard.  So in order to put the cabinet back in place, I needed to basically add a piece of luan and linoleum to get the cabinet back to the height of the other cabinets.

The new floorboard was lower than the old floor of floorboard, luan, and linoleum.  But looking at the mold and drywall cracks behind this last piece, I wanted to make sure the floorboards below it was structurally sound.
Simple enough, right?

Note:  NOTHING is simple in this house.

Well, it was apparent that some of the water damage extended below the remaining luan.  Both Mom and Dad were over to help today, and when I mentioned it to Dad, I told him that I needed to pull up the piece of luan that was still visible (this sat underneath the left half of the cabinet that was removed).  I could see black mold on it, and judging by the condition of the drywall behind it, water had definitely been in this area, too.

Notice the black mold behind the dishwasher.  I needed to check the floorboards below the dishwasher to see what type of shape they were in...
So I decided to pull it up.  And, oh, the pain.  It was just another sinking feeling.  I saw all kinds of black mold (this house is covered in the stuff in various places), but what I saw more than that was absolute wood rot.  The water damage was so extensive that the floorboard was literally worthless.  Just as I did with the front door, I took a screwdriver and was able to push it straight through the wood.  NOT good.  Sigh.  Yet ANOTHER setback!

Look at all of that water damage!  And mold!  I could stick a screwdriver through the rotten wood into the crawlspace...again.
The water rot area had a bit of an arc to it, and it was starting to peak right where the dishwasher sat on top of the remaining linoleum.  I told Dad I was more than confident that all of the kitchen cabinets were going to have to come out.  If all of them were sitting on top of rotten wood, then it all needed to be fixed.  I was demoralized.  EVERY time I try to move forward on this house, I find something that either halts me or more often sends me backwards!

I headed down to the crawlspace to see the extent of the damage, and, my, oh my, it was definitely rotten.  But I couldn't contain my excitement!  The area was very localized, and the water rot did NOT continue to the rest of the cabinets!  Woo hoo!  (I later told Mom this was such a weird feeling.  I was so excited about bad news because it wasn't terrible news!  It's terrible to think that way!).  But I WAS happy to see that the cabinets could stay.  What a relief.

The water damage was extensive...yet localized.  So happy about that!  The cabinets to the left can stay!

The wood literally just flaked away when you pulled on it.
To double-check upstairs, I checked the area underneath the kitchen sink by removing the warped shelf, and outside of being incredibly dusty and gross, I didn't see any major water damage.  Just some more mold!  And a weird air vent that literally vented into a cavity underneath the cabinet and then came out a cut hole in the side.  What a weird way to do it.

The warped shelf below the kitchen sink.

And the weird air vent below the shelf that just vented into this cavity!  As Dad said, though, "At least your pipes would never freeze!"
Well, after removing the dishwasher and seeing the damage being localized, I think THIS water damage is not from the ceiling leak but from the dishwasher (or previous dishwasher) itself.  But here is where the project went from big to humongous.  The floorboards were rotten all the way to the wall (and from what I understood under the wall, as well).  Well, Pa disagreed with me and said that the wall studs don't sit on the floorboards.  I was pretty sure that's not how houses were built, though.  So we called my brother who confirmed Dad's belief that wall studs were attached directly to the floorjoists.  Hmm, but I have seen houses built before, and I just wasn't convinced.  So Dad and I sat down and started watching videos of how houses were built, and sure enough, my belief was confirmed.  The walls sit on top of the floorboards which sit on top of the floorjoists.

But that presented a HUGE problem.  My floor was rotten all the way to the edge.  And so in order to replace it properly, I had to pull out the rotten floorboards from underneath the wall.  And while that was taking place, the weight of that wall would be pressing down hundreds of pounds in that area.  I wasn't confident with the house staying up on its own, especially after hearing the urgency in my contractor's voice when he had a similar situation with the French patio doors.  In that area, the entire sillplate had rotted away.  Well, once I started clearing away the rotten wood, I realized that I needed to secure the house.  I had roughly three feet of area where the walls would be resting on nothing.  There was no other way I knew to do it except with jacks!

Yes, that is right, MY HOUSE HAD TO BE PUT ON JACKS to hold it up!  Un-be-lievable.

The floor was so rotten you could literally stick a screwdriver straight through the wood into the crawlspace.  Soft, soft, soft.

The floor has been removed!  Now I had to figure out a way to get the floorboards removed from UNDER the wall.

The damage was extensive.  But I was thankful my bottom sill plate was still sound (albeit discolored) as well as the floorjoists.  That missing piece front and center is negligible, so VERY happy about that.

The floor just crumbled in my hands.  No tools needed.

Looking up at the bottom of my kitchen wall.
And I noticed my house had sunk at least 1/2" in this area as when I looked at the bottom plate of the wall resting on the rotten wood, one 3/4" floorboard had compressed down to 1/4" from the weight of the wall on one floorjoist.  The one to the left was the worst.  The joist to the right showed rotten wood, but it hadn't compressed.  But looking at the two next to each other, it was apparent the weight of the wall just crushed the wet wood!  And the obvious reality was that I would have to jack up the wall in order to slide a new piece of floorboard underneath the wall.  My oh my, what an unforeseen project.

The floorboard literally crushed by the weight of the house.  This is supposed to be 3/4" thick, but after getting wet, it just sunk and sunk and sunk.

The other floorjoist still had the roughly 3/4" board intact, although it showed signs of being wet previously.

The wall stud was nearly resting on the floorjoist it had compressed so much!
Mom and I headed to Harbor Freight to pick up a couple of bottle jacks (and to allow me to decompress a bit!), and then we headed to Lowe's to pick up new floorboards.  Seriously, what a mess.

Once back at the house, I realized I was going to have a pretty big problem with what I wanted to do.  In a perfect world, the wall plate was one solid 2 x 4" from left to right, and I would just jack up the left side to the left of my hole and do the same on the right side, as well.  The wall would lift, and I would simply slide a brand-new solid floorboard under the wall.  Perfect.  But what I quickly figured out was that the wall stud ended basically at the end of my hole.  So if I tried to jack up the wall, it would lift the wall to the left!  And on the right side, in the sill where I needed to jack up the wall, I had a foundation bolt in the way!  Nothing is ever easy.

But it had to be done.

I'm not sure how we are going to do it, but for now, the walls are jacked up.  And they DID raised a bit, although you could greatly feel the tension on the jacks.  How heavy is a two-story house?!

The wall is raised!  I can't quite get a 3/4" floorboard underneath there just yet, but it's moving up!

I might be able to get a floorboard under there now!

The right side raised much easier.  A new floorboard should slide right under!
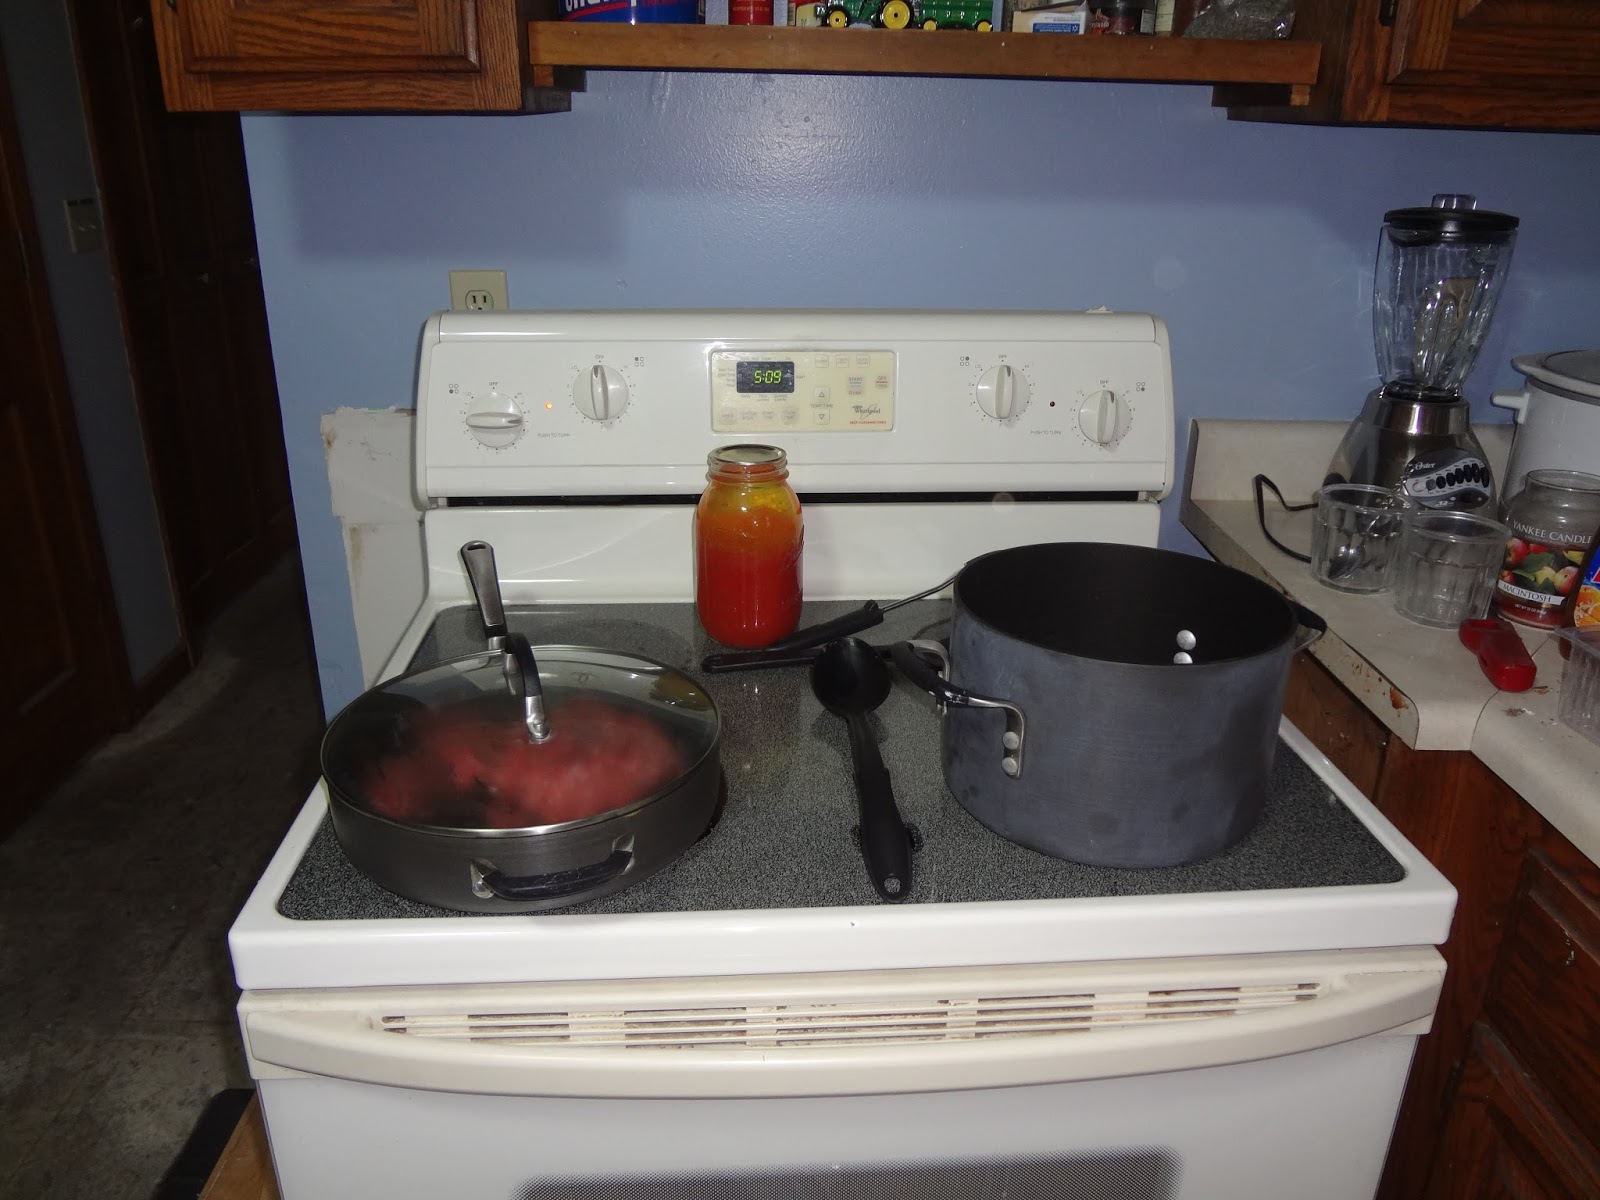
The day was getting late, and the frustrations and sore legs were high, so we called it a day although it was already evening.  Mom and Dad had been feverishly working on the main floor while I spent the entire day in the crawlspace, and I was thrilled to see some of the work that had taken place while I was ripping out rotten wood.  Mom had cleaned out the kitchen dining room area and dusted and removed all of the books and bookcases from that area.  It looks so much better.  The stovetop was also cleaned, and our first meal was cooked on it for lunch.  I'm happy to report it works great!

The dining room is coming back!  Looks great, Ma!

The stove cleaned up great, too!
The first meal cooked in the new house!
Mom had also vigorously cleaned and painted the back of the cabinet that Dad and I had salvaged.  We knew it had black mold, so after lots of bleach, she painted the area with a thick primer.  So it's now ready to go back in.  I'm sure they both did plenty more that I am unaware of, but I was focusing on cleaning out the rotten wood.

No more mold allowed!
And after they left, that's what I did deep into the night.  I wanted to be ready to install new floors tomorrow, and so I brought out nearly every tool from my garage in order to cut, chisel, rip, and pry out the wood and nails.  Those nails were TOUGH to get to.  As you can imagine, the original contractor secured the edge of the floorboards to the edge of the house with nails!  Those nails were now sitting in between a sill plate and bottom plate and very hard to get to!  And unbeknownst to me, the right portion of the wood (about the last 16 or so inches) was actually decent wood.  So whereas I just pulled out the rotten wood from the left side of the hole, I had to really chip away to the right side.  It was SLOW work.

The house is being held up by jacks overnight!

All of the various tools used for removing the nails under the wall.  Such work.
But I got it all out and ready for a new floor tomorrow.  I have a garage door project first on a rental property, but I'm eager to get this all wrapped up!  What an exhausting day!  I am so ready to start constructing and putting back together rather than taking apart.  I've owned the house for more than four months now, and I am STILL taking it apart.  When will the switch begin?!